I was inspired by this on Etsy and decided to have a go at one for my Hokie Mom for her birthday. Then as my hubby was preparing to go down to an Oklahoma State game, he won 2 extra tickets and was going to give them to his mom and sister, so I whipped up a necklace for her, using a custom bottle cap from Jess Boutique who lives down the street from me.
Inspiration:
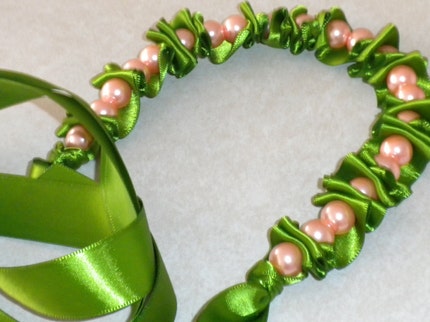
My versions:


MIL wound up not going to the game and evidently wasn't in love with the necklace. I plan to steal it back from her when we go to the Bedlam game on Thanksgiving.
I made my little Lava Girl a pink bracelet this ribbon/bead style but haven't taken a picture.
IF YOU WANT A TUTORIAL ON THIS BEAD/RIBBON NECKLACE, LEAVE A COMMENT ASKING FOR IT!
Since I was sending something to MIL I felt the need to send something to SIL so I whipped up this bracelet. It's a good thing I had ordered these bottle caps from Jess Boutique before, for these projects, but then once the bracelet was made, I decided I needed an image on BOTH sides of the bottle cap, so Super Jess took it back and added the 2nd image. Evidently MIL and SIL both really liked this, so I doubt I'll be able to steal it but with any luck they'll let me borrow it for the game...

I bought all these beads LAST YEAR to make jewelry with for this football season, so now when we are down there again in the land of everything orange, I'll buy more. There just isn't enough orange stuff up here in the land of limited craft supplies.


